One of the most important steps in setting up your store is—of course—adding the products you intend on selling.
Our marketplace supports both physical and digital products.
How to Add Products Individually
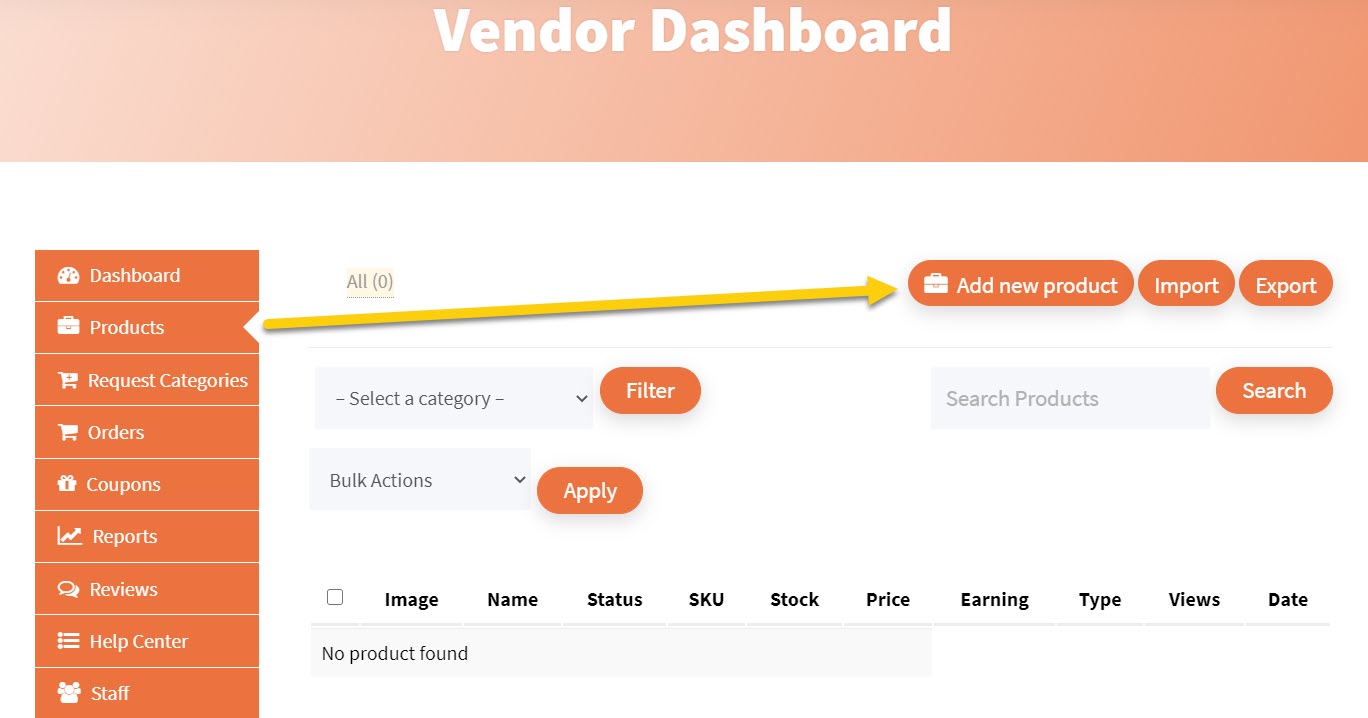
To add products one at a time, go to the Products section (Dashboard → Products) and click Add new product.
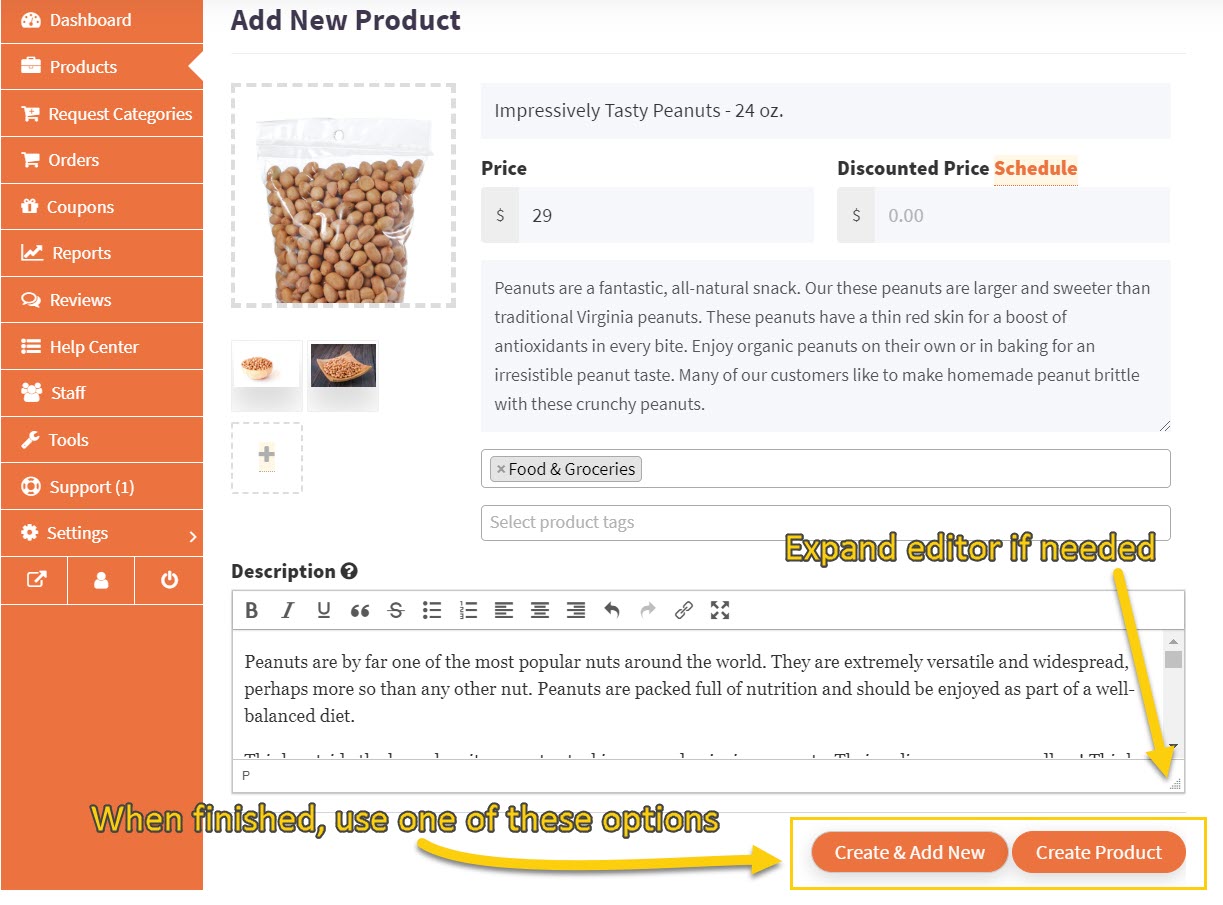
On the Add New Product page, go ahead and:
- input the product title;
- set the product price;
- input a short description;
- select the appropriate category for the product;
- input an optionally more detailed description;
- upload the featured product image; and
- add additional images to create an image gallery showcasing the product.

Here’s a sample product showing where the short description and main description are displayed:
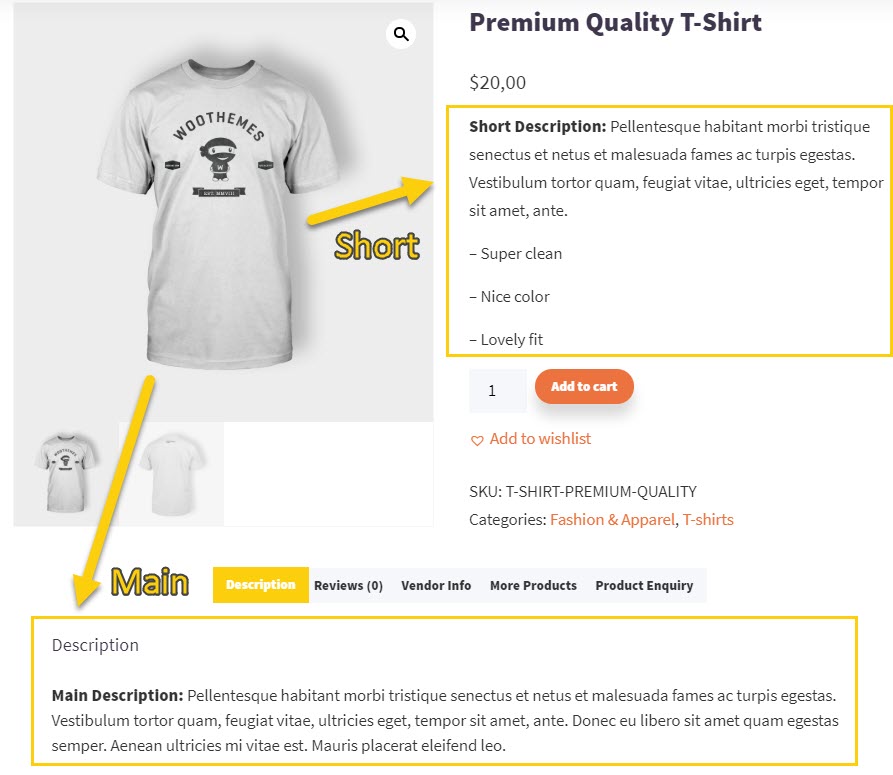
The main description section is where you can provide more complete details such as ingredients list, usage tips, precautions, etc.
Once you’ve completed the product details, click Create & Add New or Create Product to add your product.
After adding a product with the initial details, you can now access additional options for that product including:
- SKU and stock management
- Product weight and dimensions
- Shipping class
- Setting up upsells and cross-sells
- Setting up custom attributes which can be used as additional product description information and/or for creating multiple product variations (e.g. color, size, or capacity)
- Configuring bulk discount
- Configuring status and product visibility in the store (e.g. optionally make a product invisible on shop pages but still keep it accessible via direct link)
- Adding a custom purchase note for customers
- Enable/disable ability for customers to leave reviews
How to Import Multiple Products via CSV
If you have many products already setup in a WooCommerce installation, Shopify store, or another marketplace platform that allows you to export your product data, you can try using our CSV importer.
This can potentially save you plenty of time when looking at onboarding dozens, hundreds or thousands of products.
To import products, there are two places you can start from via the vendor dashboard. You can:
- use the ‘Import’ button on the Products page; or
- use the ‘Import CSV’ button or XML upload option on the Tools page.
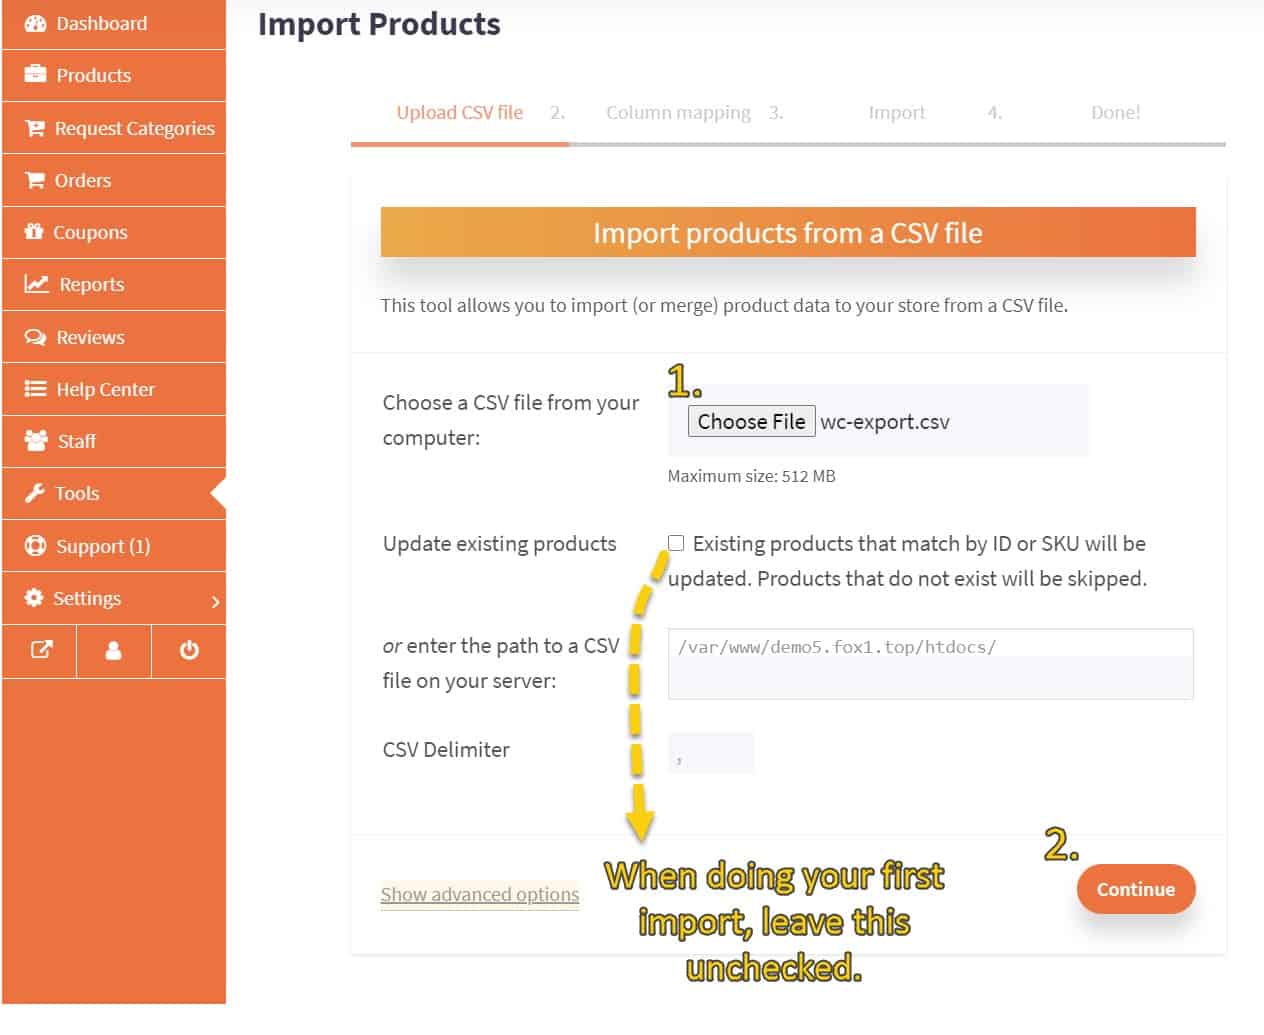
Choose the local CSV file on your PC, upload it, then click Continue.
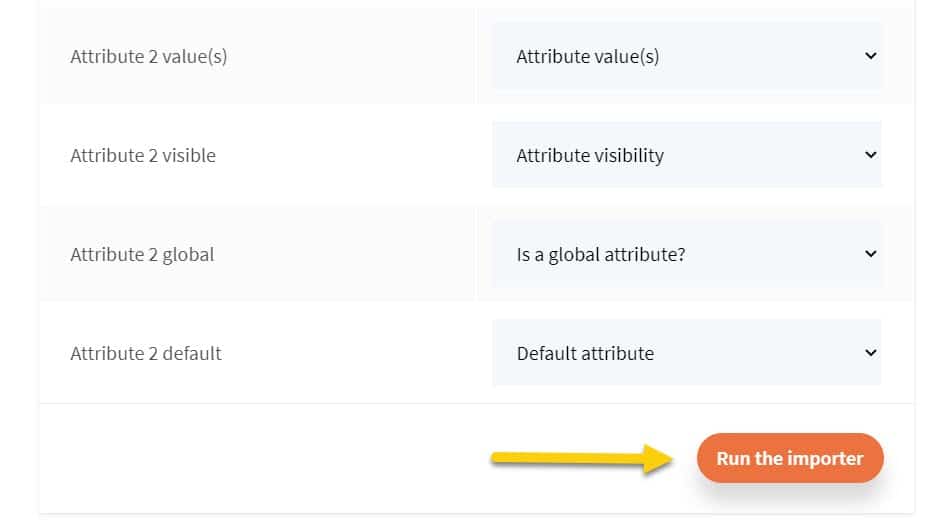
Next, you’ll be presented with the option to map the default store fields to the product column fields in your CSV so that each type of data is “inserted” in the right place.
The importer will try to map the fields as correctly as possible.
However, if your exported data is coming from a non-WordPress ecommerce solution, be sure to double-check the mappings and be prepared to fill out any missing details on a per product basis.
If all looks good, go ahead and run the importer:
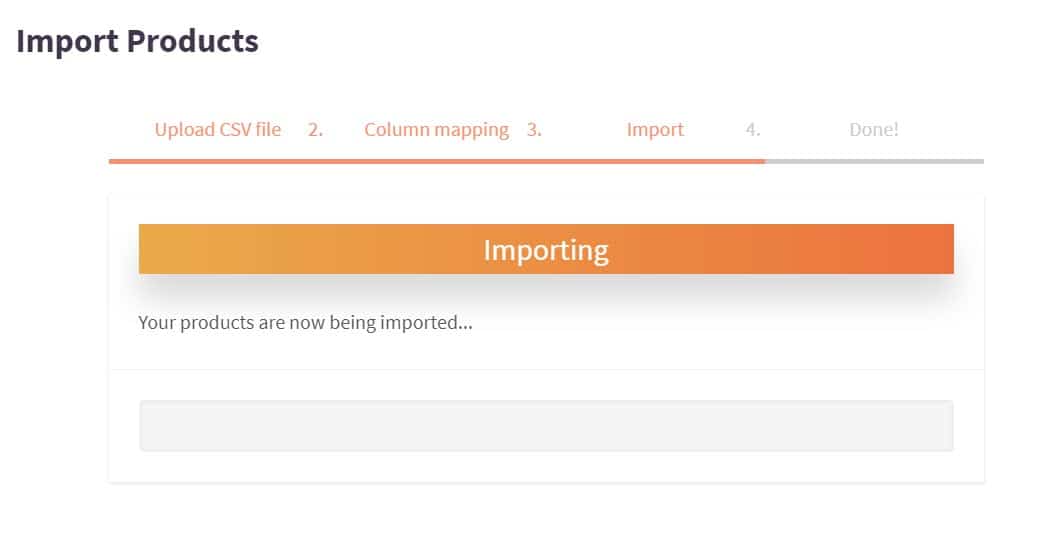
The importing process will then begin:
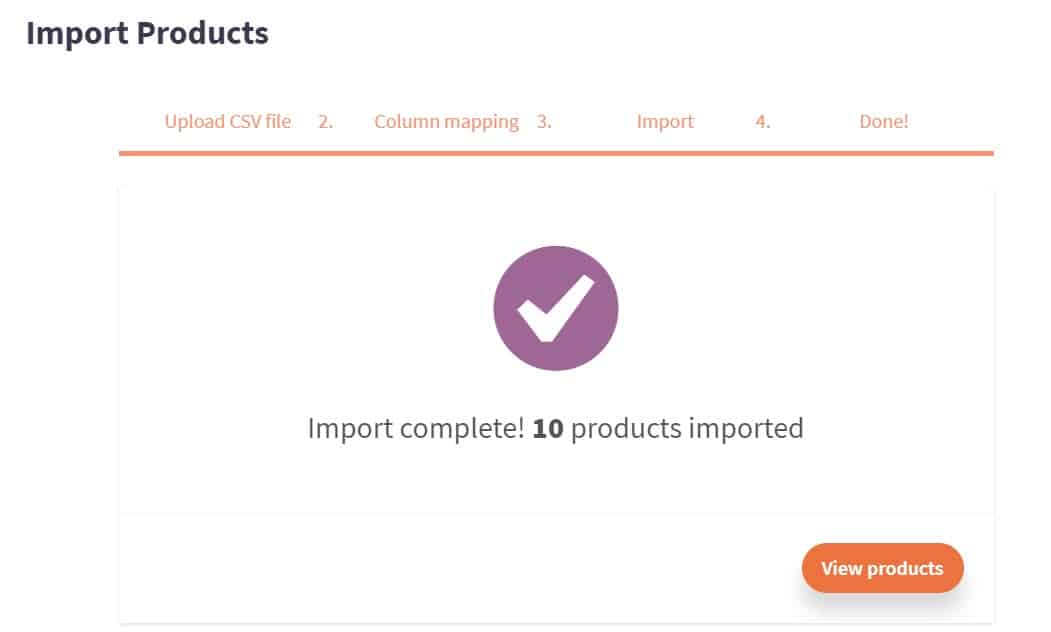
Following successful import, you should see a success message showing how many products were imported:
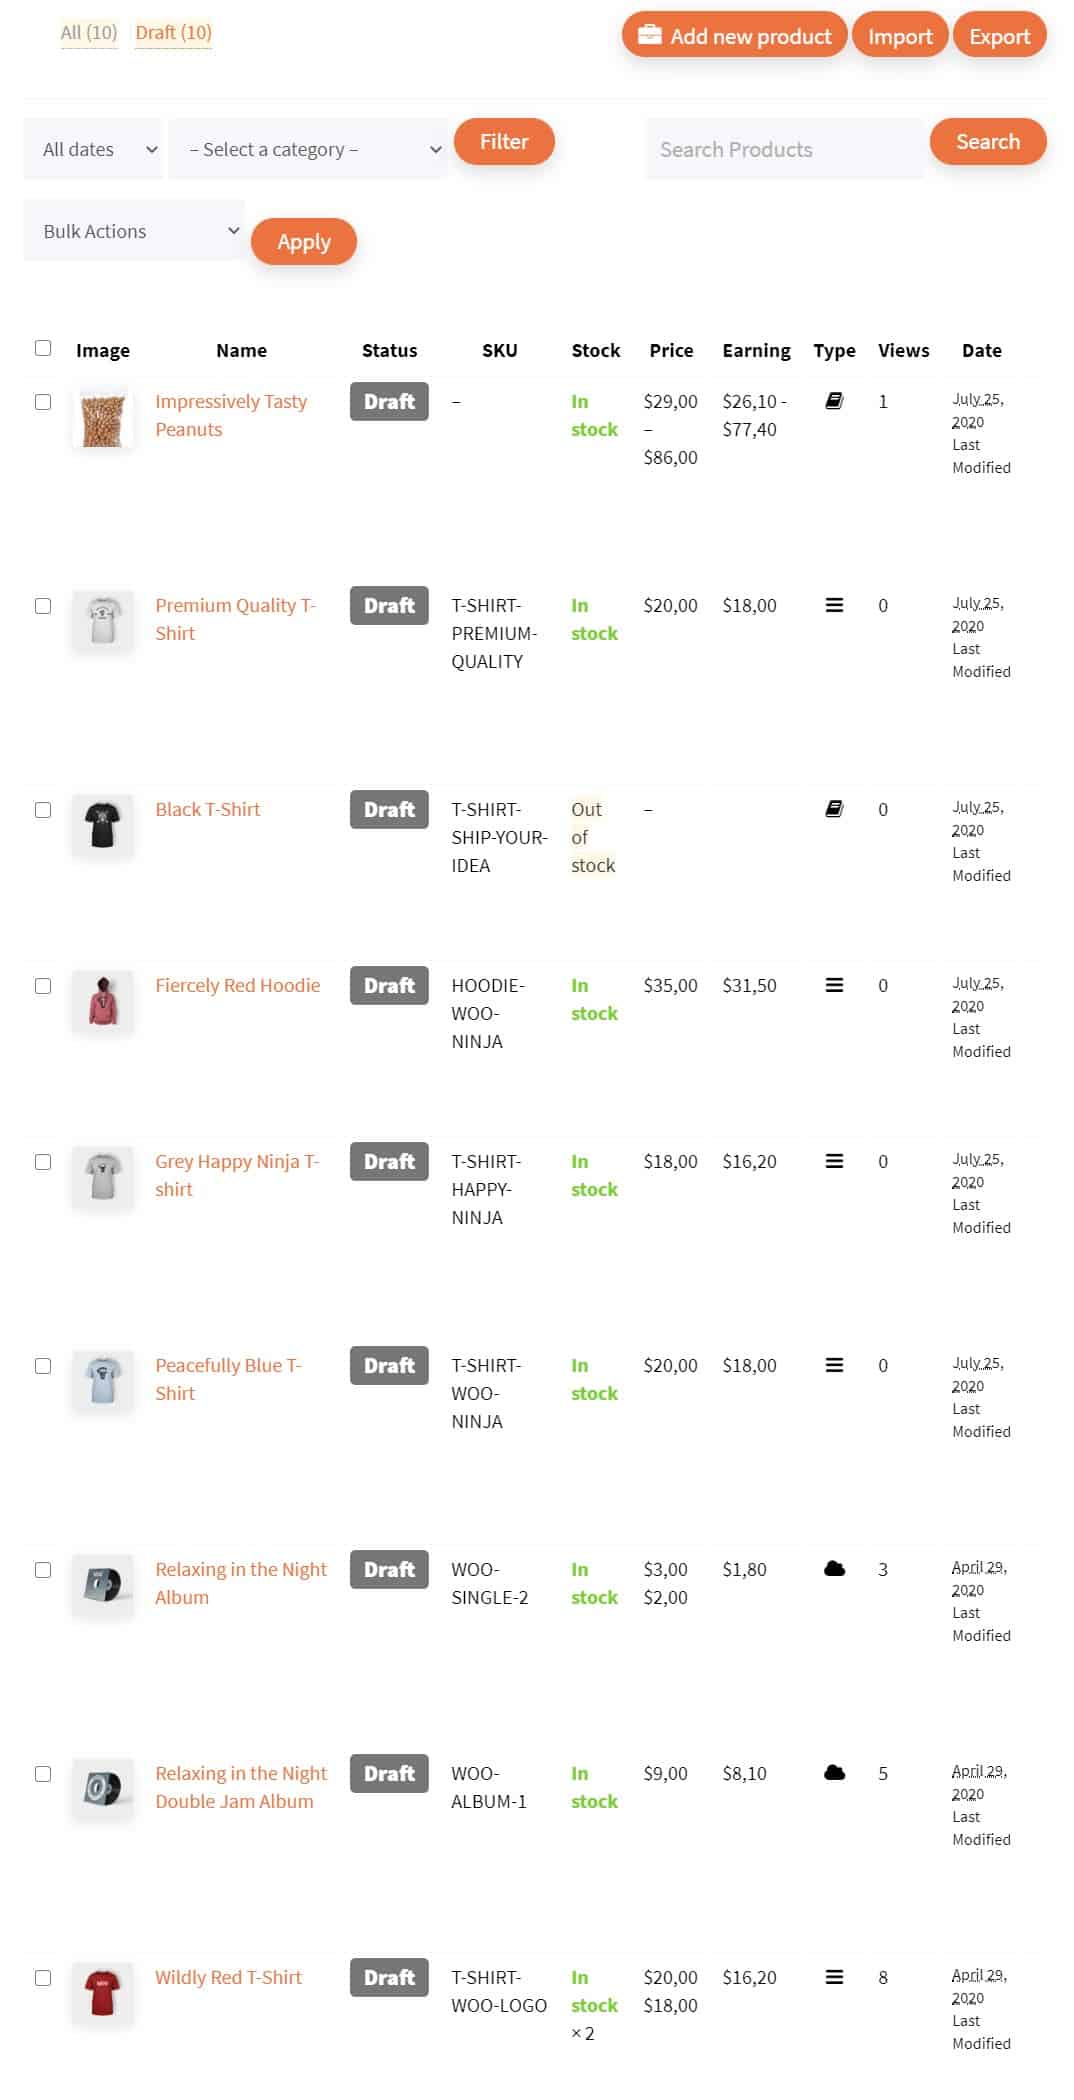
Your products should then be ready for you to review, edit and then switch Status from Draft to Online so the products are visible via your store and the marketplace shop pages:
Hopefully, you’ll be able to import your products with ease. If any issues do arise, don’t hesitate to contact us and we’ll help you get up and running!