NOTICE (September 20th, 2020): The above video will be updated soon to reflect recent changes to the vendor dashboard.
Once you’ve registered your brand new VegByte Marketplace vendor account, it’s time set up your store. Let’s take a look at the main store settings page.
Note: Any time you make changes on the settings page, make sure to click ‘Update Settings’ at the end of the page.
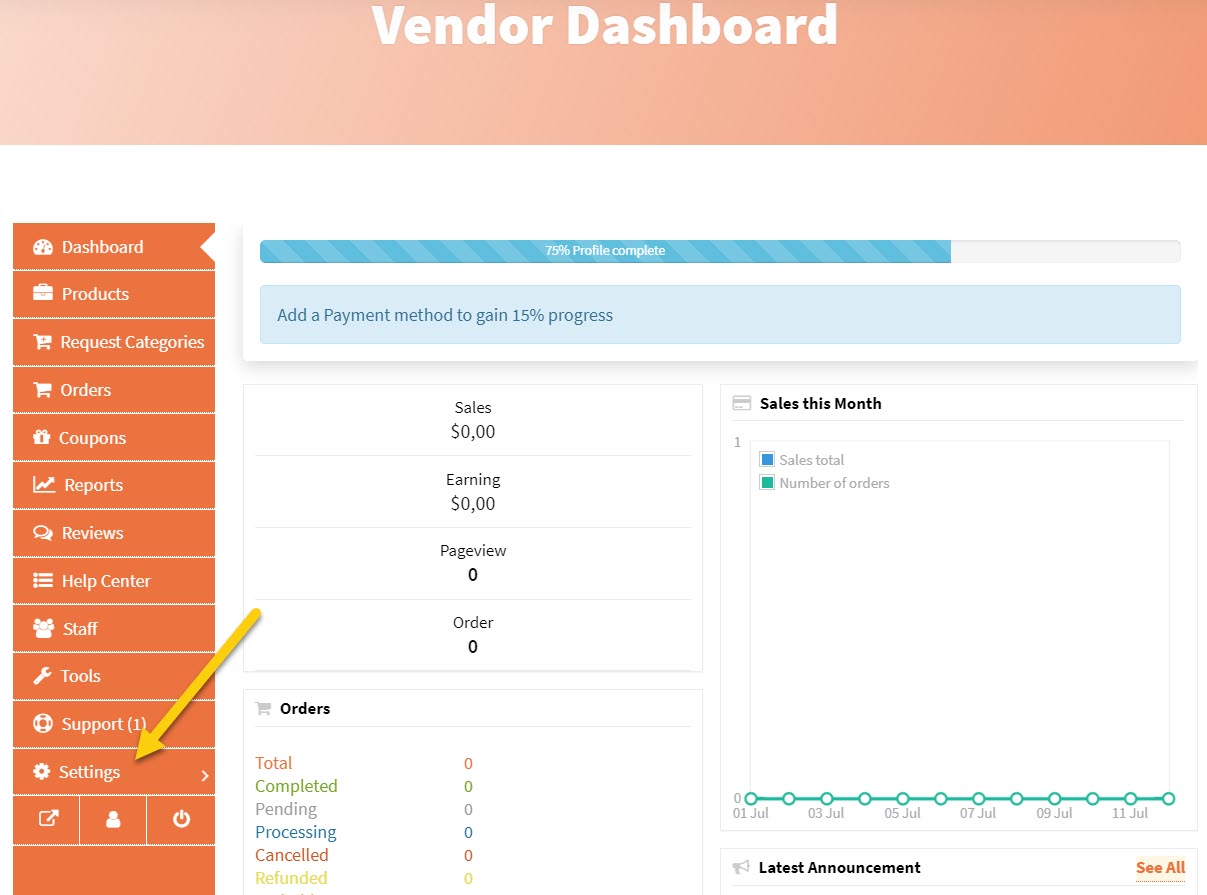
Step 1: From your vendor dashboard, head inside the main settings area (Dashboard → Settings)
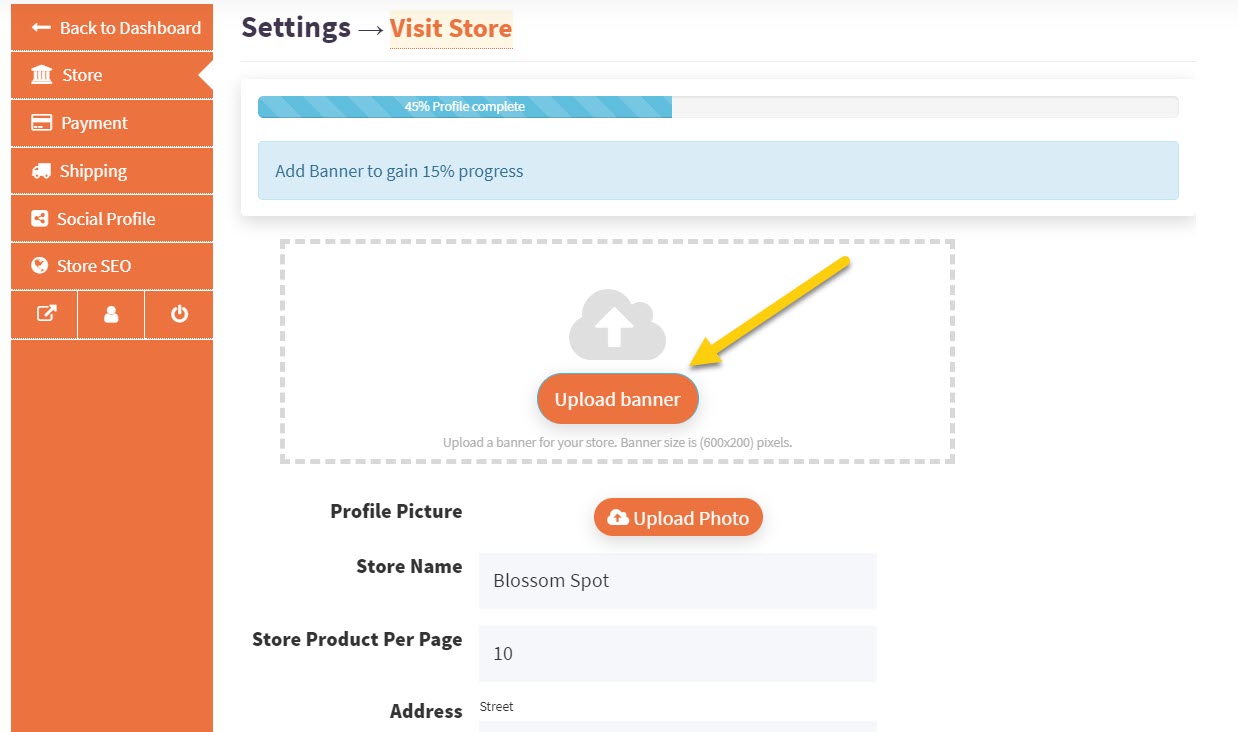
Step 2: On the Settings page, start by uploading a banner graphic (1000px wide by 333px tall) you wish to use for your store:
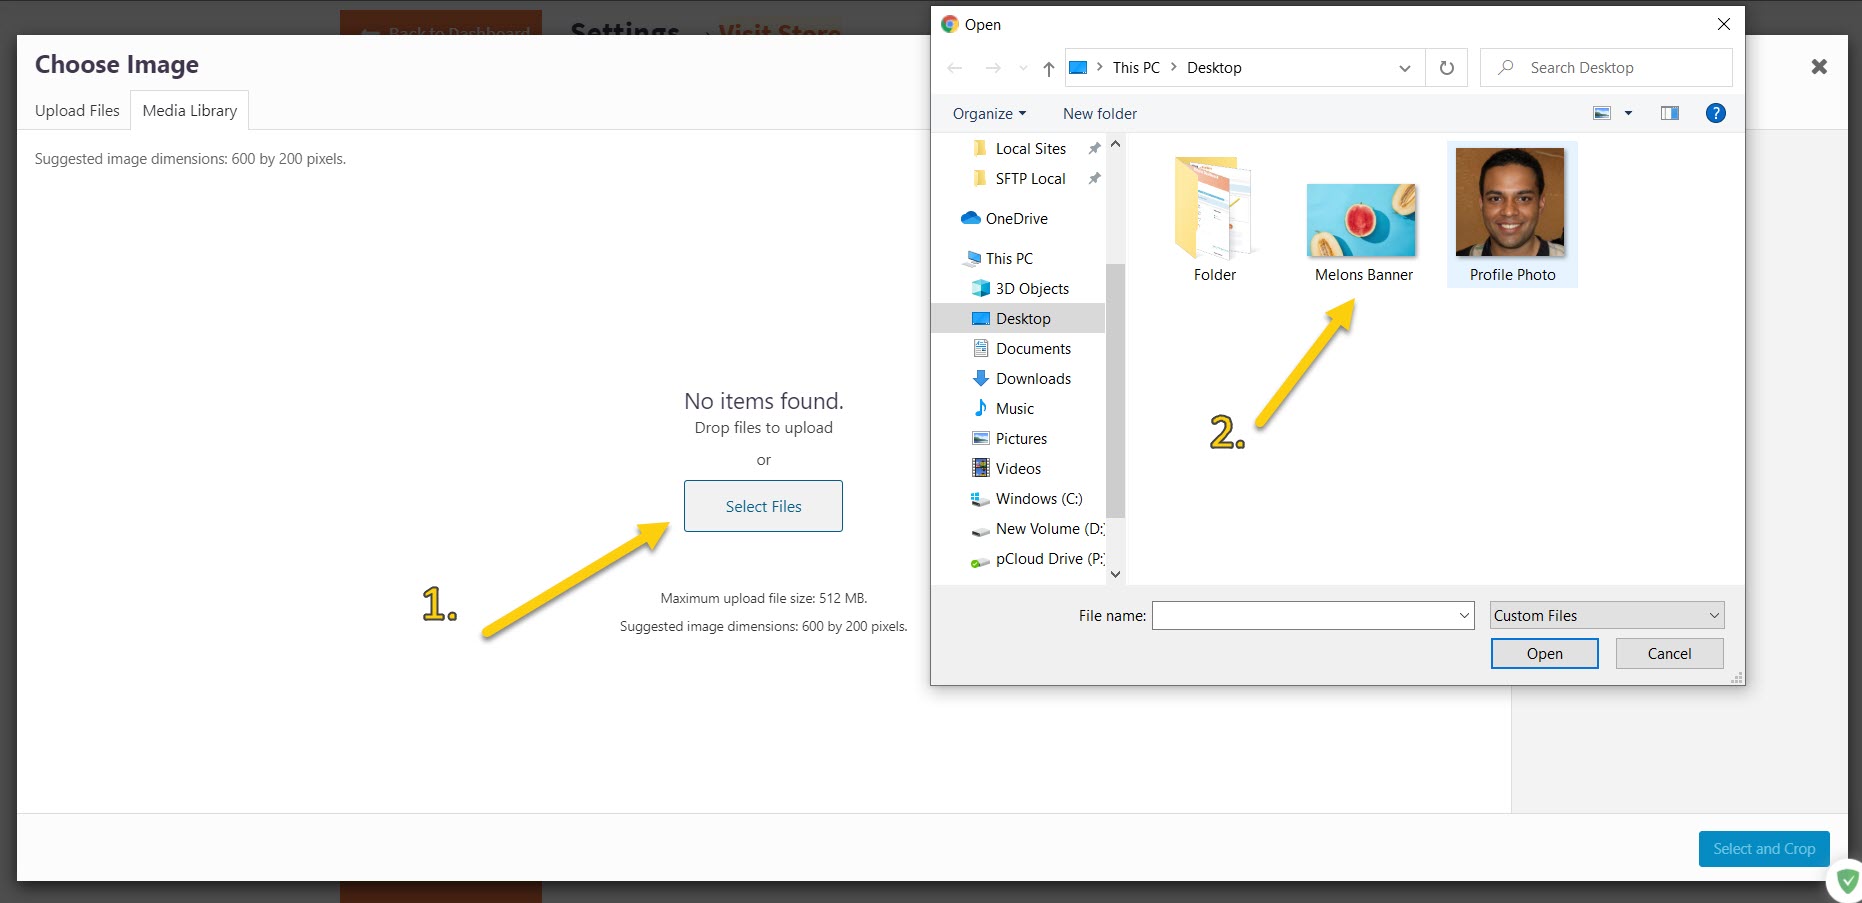
Proceed to find a suitable graphic on your PC and upload it to your media library:
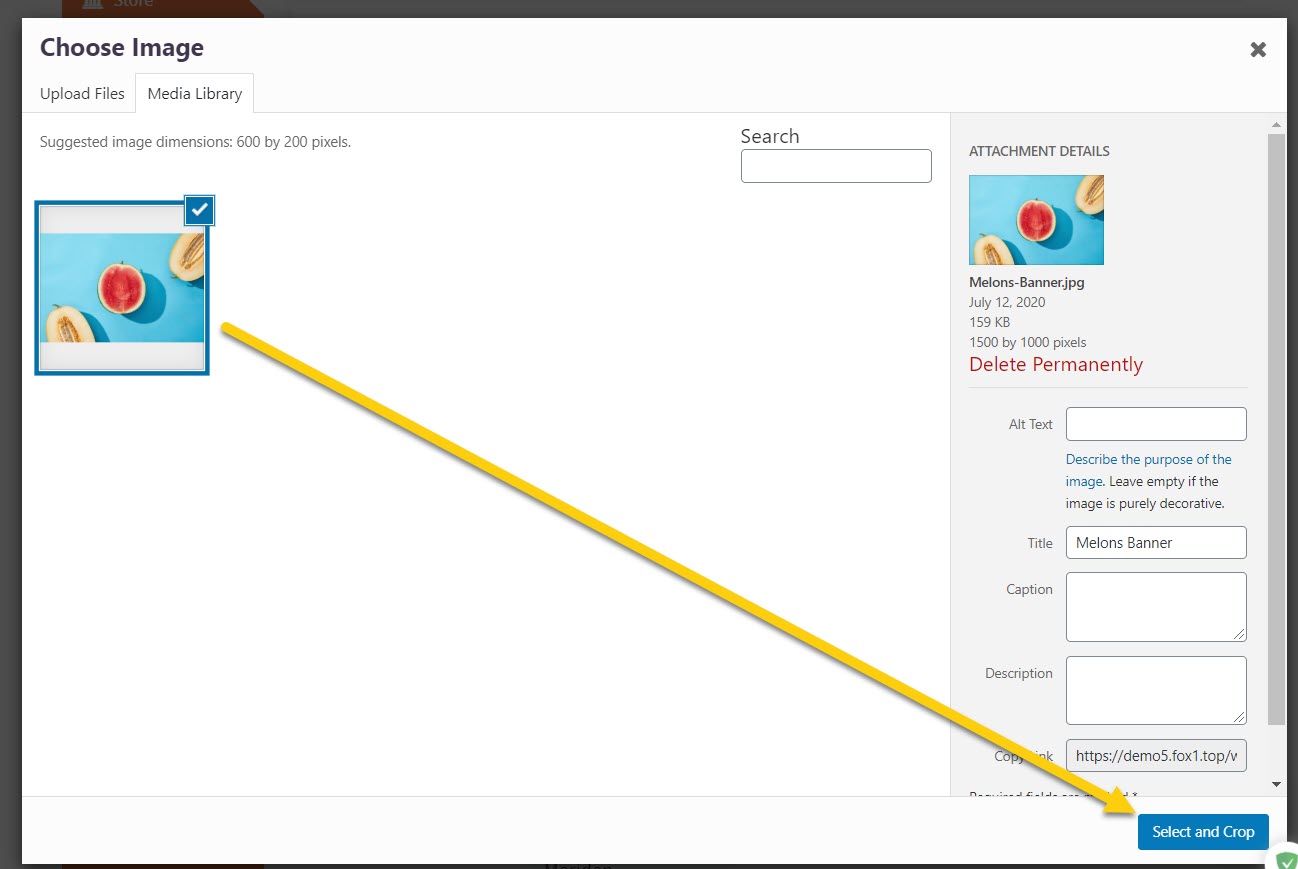
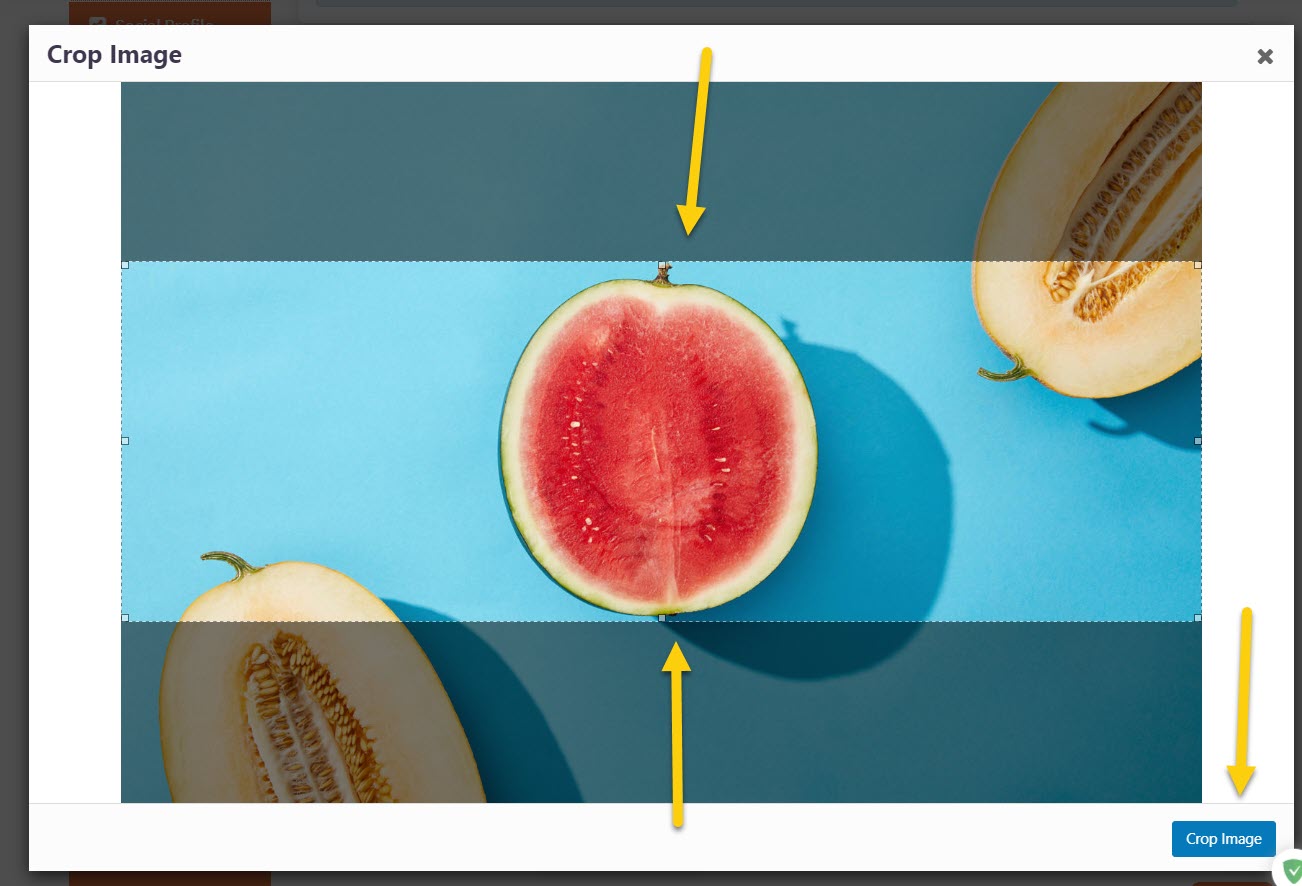
Once uploaded, select the banner and proceed to crop it:
If your graphic is wider than 1000px and/or taller than 333px, adjust the cropping until desired result and Crop Image:
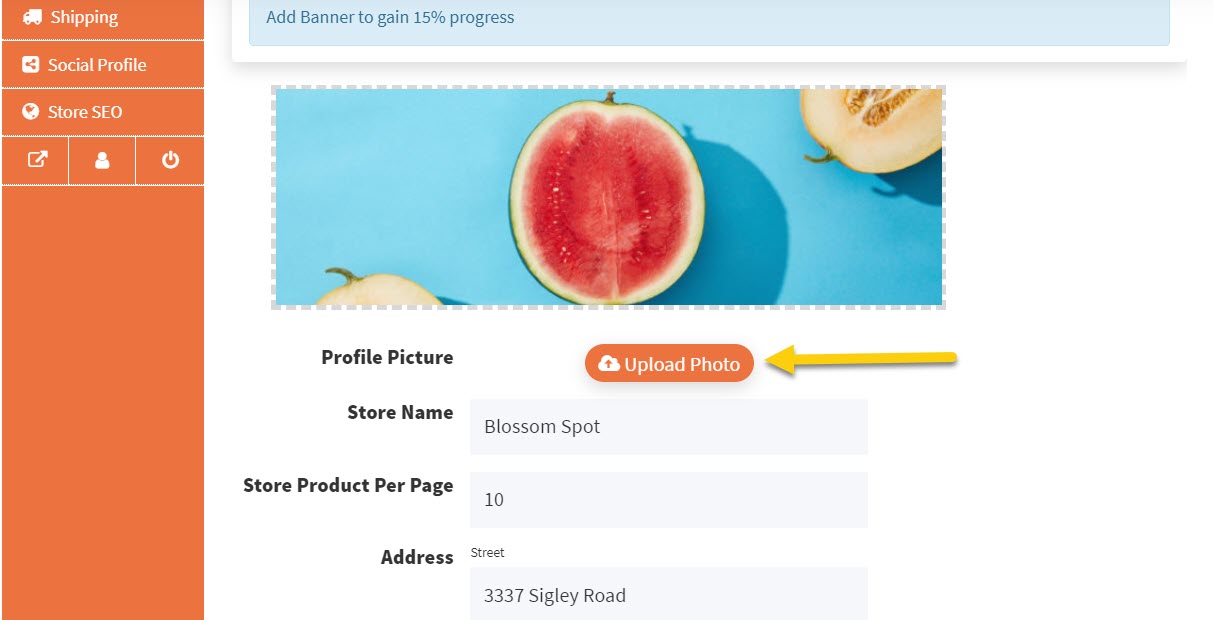
Banner should be successfully uploaded and in use.
Step 3: Follow the same steps for uploading a profile picture:
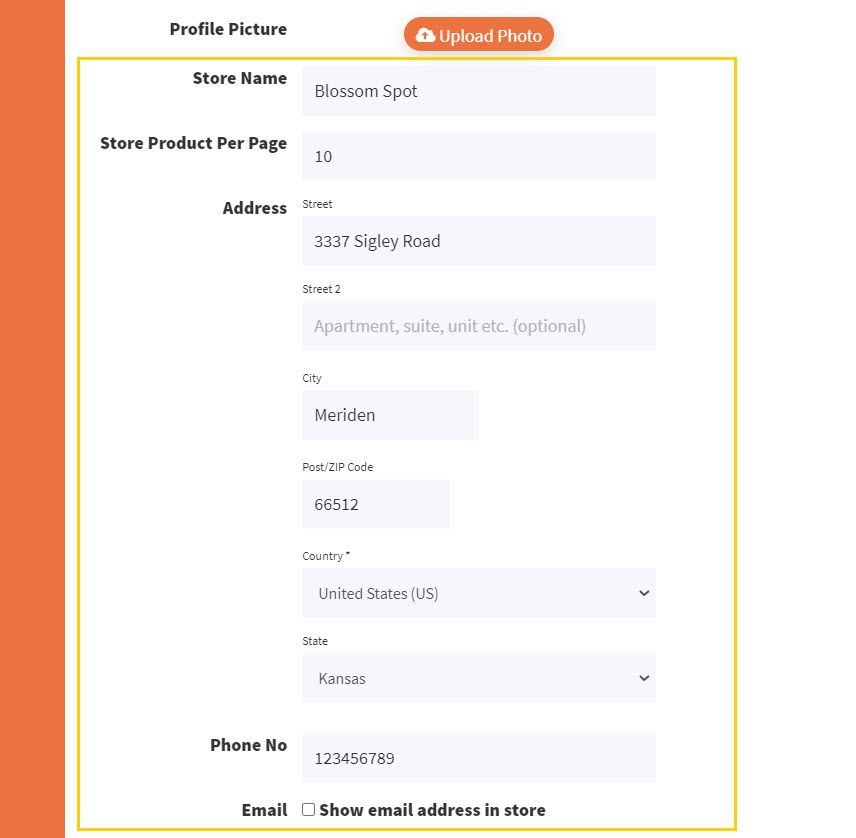
Step 4: Check that your store address details are correct and choose whether or not you wish your vendor account email address to be displayed publically on your store page:
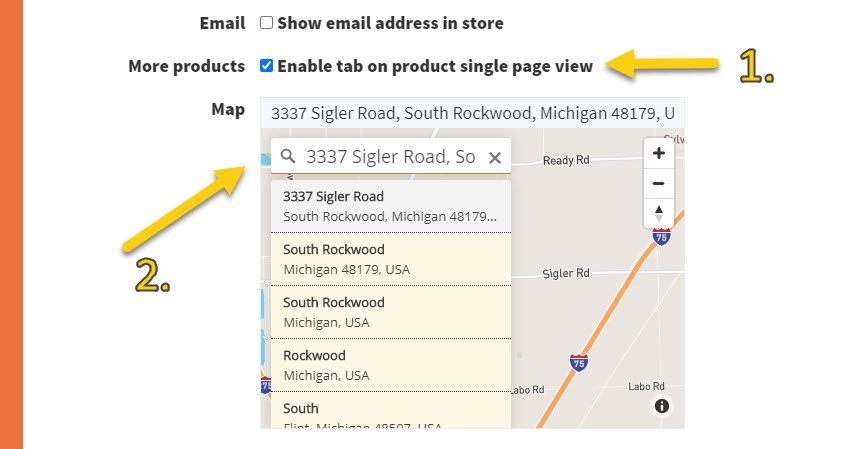
Step 5: Choose whether or not you would to diplay a More Products tab on your individual product pages (which lets customers view and find more products from your store).
Next, input the geographical location of your store (or a company address):
Step 6: If you would like to include your own terms and conditions, in addition to the VegByte Marketplace operating terms, this is the section where you can input your terms:
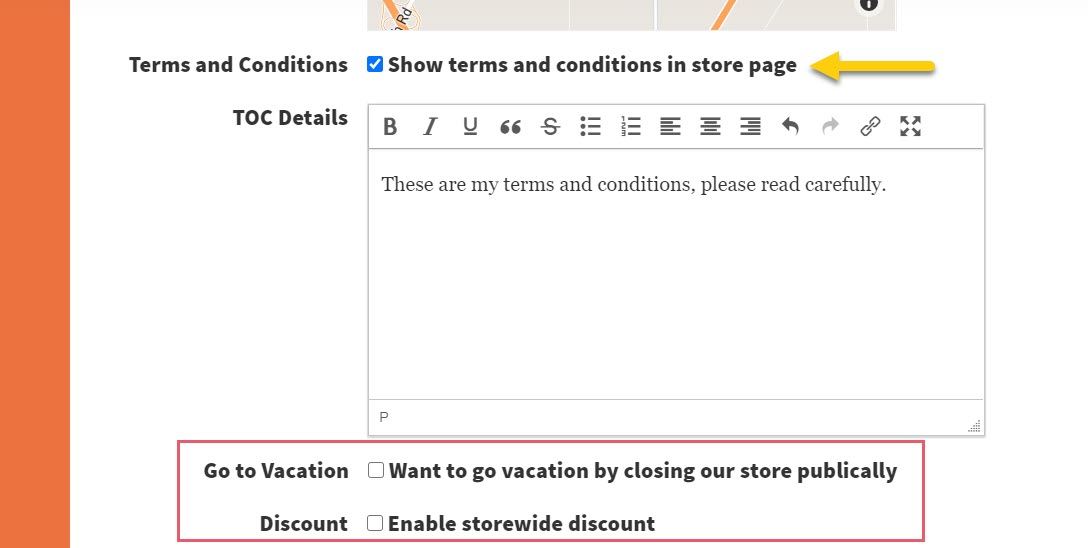
At the start, you’re unlikely to use the Go to Vacation and storewide discount options. But they’re there if and when needed.
Step 7: You also have the option to include a biography where you can share something about yourself, your company, values, or anything else you feel potential customers should know:
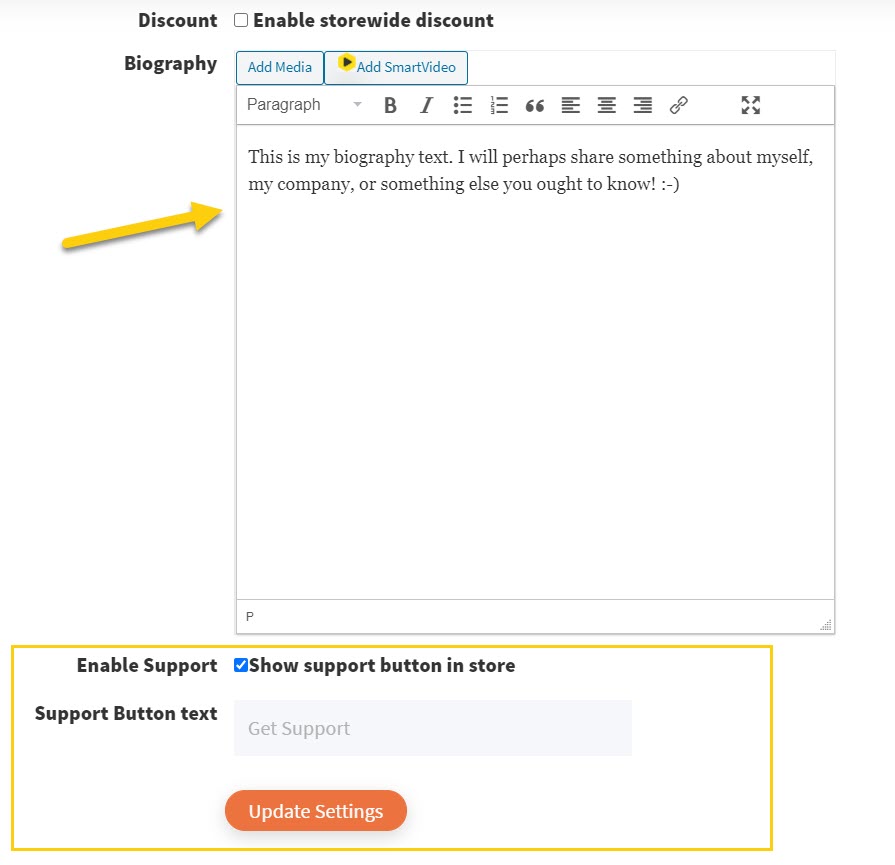
And finally, there are a couple of options for the support contact button, which customers can find via your store page. You can enable/disable this button and change the button label.
Again, whenever you change any of the settings on this page, be sure to click Update Settings to save them.